
We are interested in your flagpole success. This tutorial specifically covers installation of a cam cleat flagpole. Let's look at the flagpole in this video! Questions? Send us an email!
Black Anodized Commercial Aluminum 25 ft. Internal Cam Cleat Flagpole
|
|
 |
| External |
 |
| Internal |
 |
| Black Anodized |
Quick Note on Flagpole Dimensions: Flagpole dimensions help you determine if the flagpole you want is right for your weather. You may want a stronger flagpole if you fit one of these circumstances: you live on a coastal area, you want to fly more than one flag, you are installing your flagpole at greater elevation or more exposed area (i.e. building roof, hill top / open field).
 | |
| Wind Zone Chart (Based on 3 second potential sustained bursts) |
Tools for the job

|
|
|
|
|
|
|
|
|
|
|
|
|
|
|
|
|
|
|
|
|
|
|
|
|
|
|
|

If you are using a pedestal, you can cut the sonotube to ~10" depth. It helps to make a guideline if you are cutting the tubing down by hand. Using a post or stake to mark the spot where your flagpole will go, use the sonotube to eye ball and mark the diameter of the top of the hole. We like to use screw drivers to stake the sonotube as an outline for our initial dig. Spray paint or eyeball the surface if you choose.
Start digging with a spade. Go around the sonotube until you have a clear circle around the pedestal, deep enough to go thorugh the top soil ~4". Save some soil and the healthy grass to back fill around the pedestal later.
We are using an 18" diameter sonotube on this job for the pedestal. The foundation sleeve (steel) is 8" in diameter and the flash collar to cover the foundation sleeve is 12" in diameter. The top perimeter of the foundation will serve as a digging guide.
The foundation sleeve depth is a simple formula. Depth = 10% exposed height of the flagpole. For example, a 25 ft. flagpole should have a 2.5 ft. foundation sleeve depth.
If your foundation sleeve has a lighting spike, that will add 6" to the leveling plate. The rest of the spike can be pushed into the ground. If you are going to build a pedestal it will end up ~3" above grade. The steel ground sleeve will be set ~4" above grade. This ~1" lip helps drainage by preventing water back filling into the sleeve. The pedestal ~7" below grade allows grass and other plants to grow right up to the pedestal itself. This approach adds protection from mower contact.
 What you might expect when digging
Before you dig, you should be aware of what you might run into. You can hit any number of hidden things: rocks, roots, (but also) gas lines, water lines, electrical lines, fiber optic cables (expensive mistake), tree roots, bricks, and more! Every state has their own services for identifying these hazards. Before you dig, call your local underground agency.

If you have a high water table and you run into water before you reach the bottom of the required hole depth, you may need to compensate be creating a wider hole or using reinforcing bars. It is best to consult with a local person in your area who can make recommendations.

Before setting the foundation sleeve, measure the center point in your hole. Take your long bar or the opposite side of a shovel handle and mark the spot. Pound a guide to make a hole at the bottom center point of the hole for ground spike on steel sleeve applications. This will center the lightening ground spike at the base of the foundation sleeve. Now place the foundation sleeve into the center of the hole, once you seat the lightening spike into the ground, it should become stable. Use a level to plum the sleeve. Run the level parallel to the sleeve and check the sleeve from two points, at 90 degrees.


Once the concrete is over 8" from the top of the foundation sleeve, you can press the sonotube pedestal into place (see the video for clarification). The Sonotube will be approximately 1" below the top of the foundation sleeve and approximately 3 inches above grade. This will give you a lip which looks great and protects the flash collar from getting dented by landscapers.


Before you finish the foundation, make sure the last mixture of concrete you put in is not too wet and has few pebbles. Double check the sleeve and pedestal. Are they level? If not, you can stick the pike down into the sleeve and try to adjust the sleeve some more. Good luck, you're not going to get much movement. Time to pour your final top layer (~2 inches) and start smoothing the top of the pedestal with a trowel. If your mixture is too wet, you can use the trowel to gently press out and remove the excess water. Slope the concrete up towards the sleeve. Make sure the surface is smooth, no air bubbles, and the slope is holding.

Congratulations, you now have your flagpole foundation! As you stand back to admire your work you may be thinking, let's get that pole in! We get that feeling every time. Unfortunately, you need to give the foundation time to set up. This can take anywhere from 5 to 7 days. For larger foundations, you may want to give it even more time. Weather determines the concrete cure time too. Cold weather just takes longer. If you have a lot of rain, cover the foundation to keep it dry, but make sure air can get in to dry and set the concrete. Once the foundation is protected, it's time to walk away.
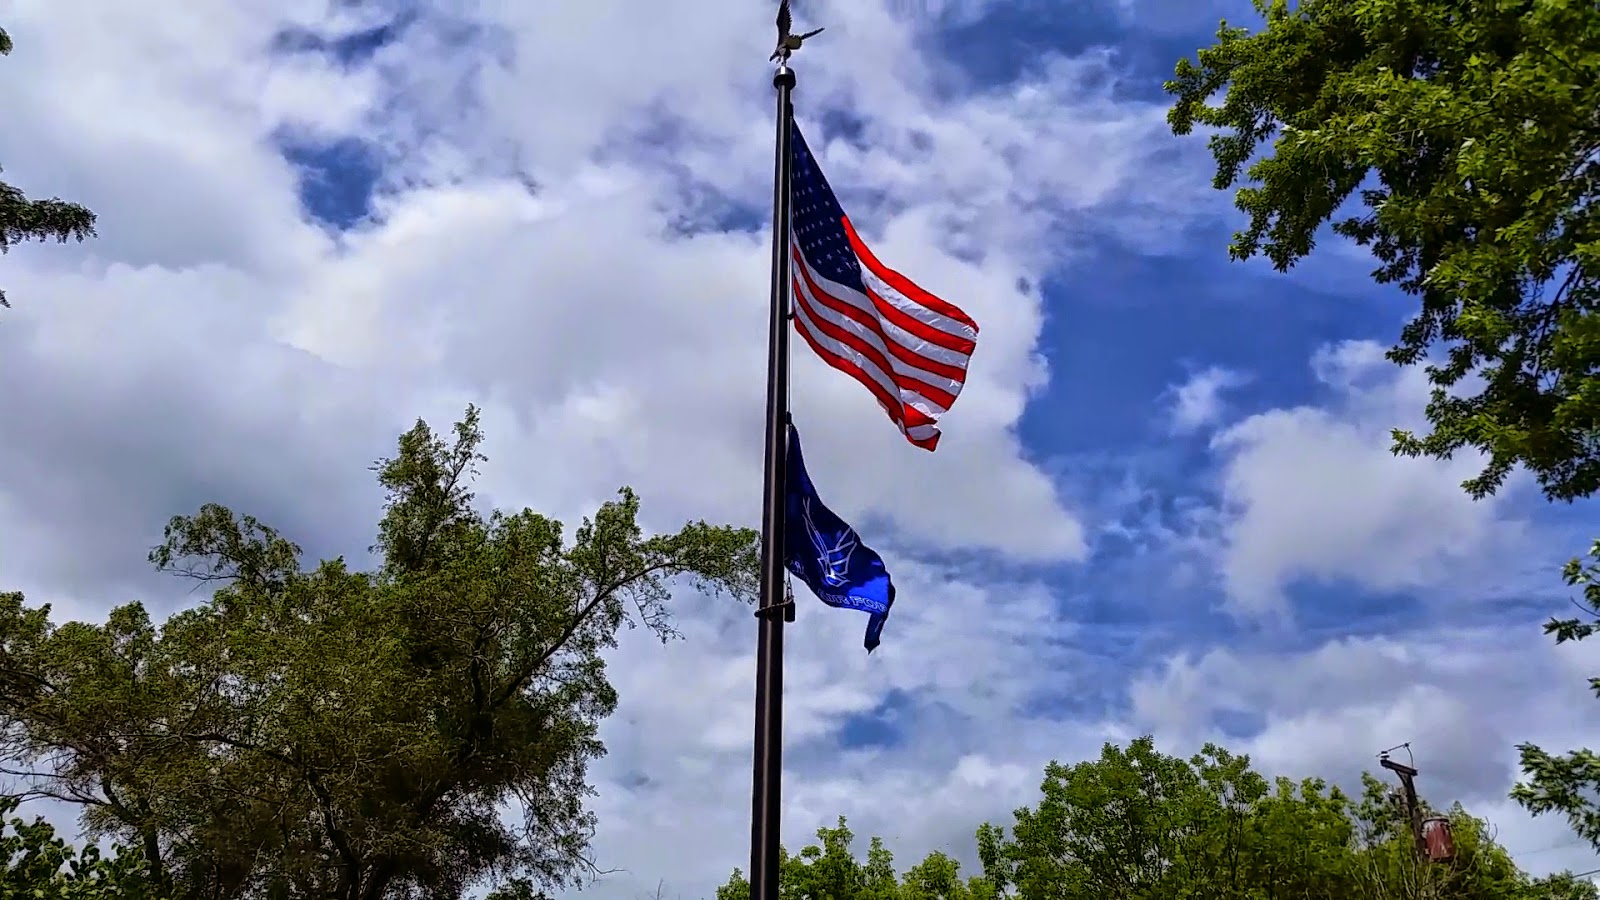
Check out the after party! You might be wondering, "What is the end result going to look like?" Check out the after party, as this family honors Gavin for his graduation and commission into the United States Air Force!