
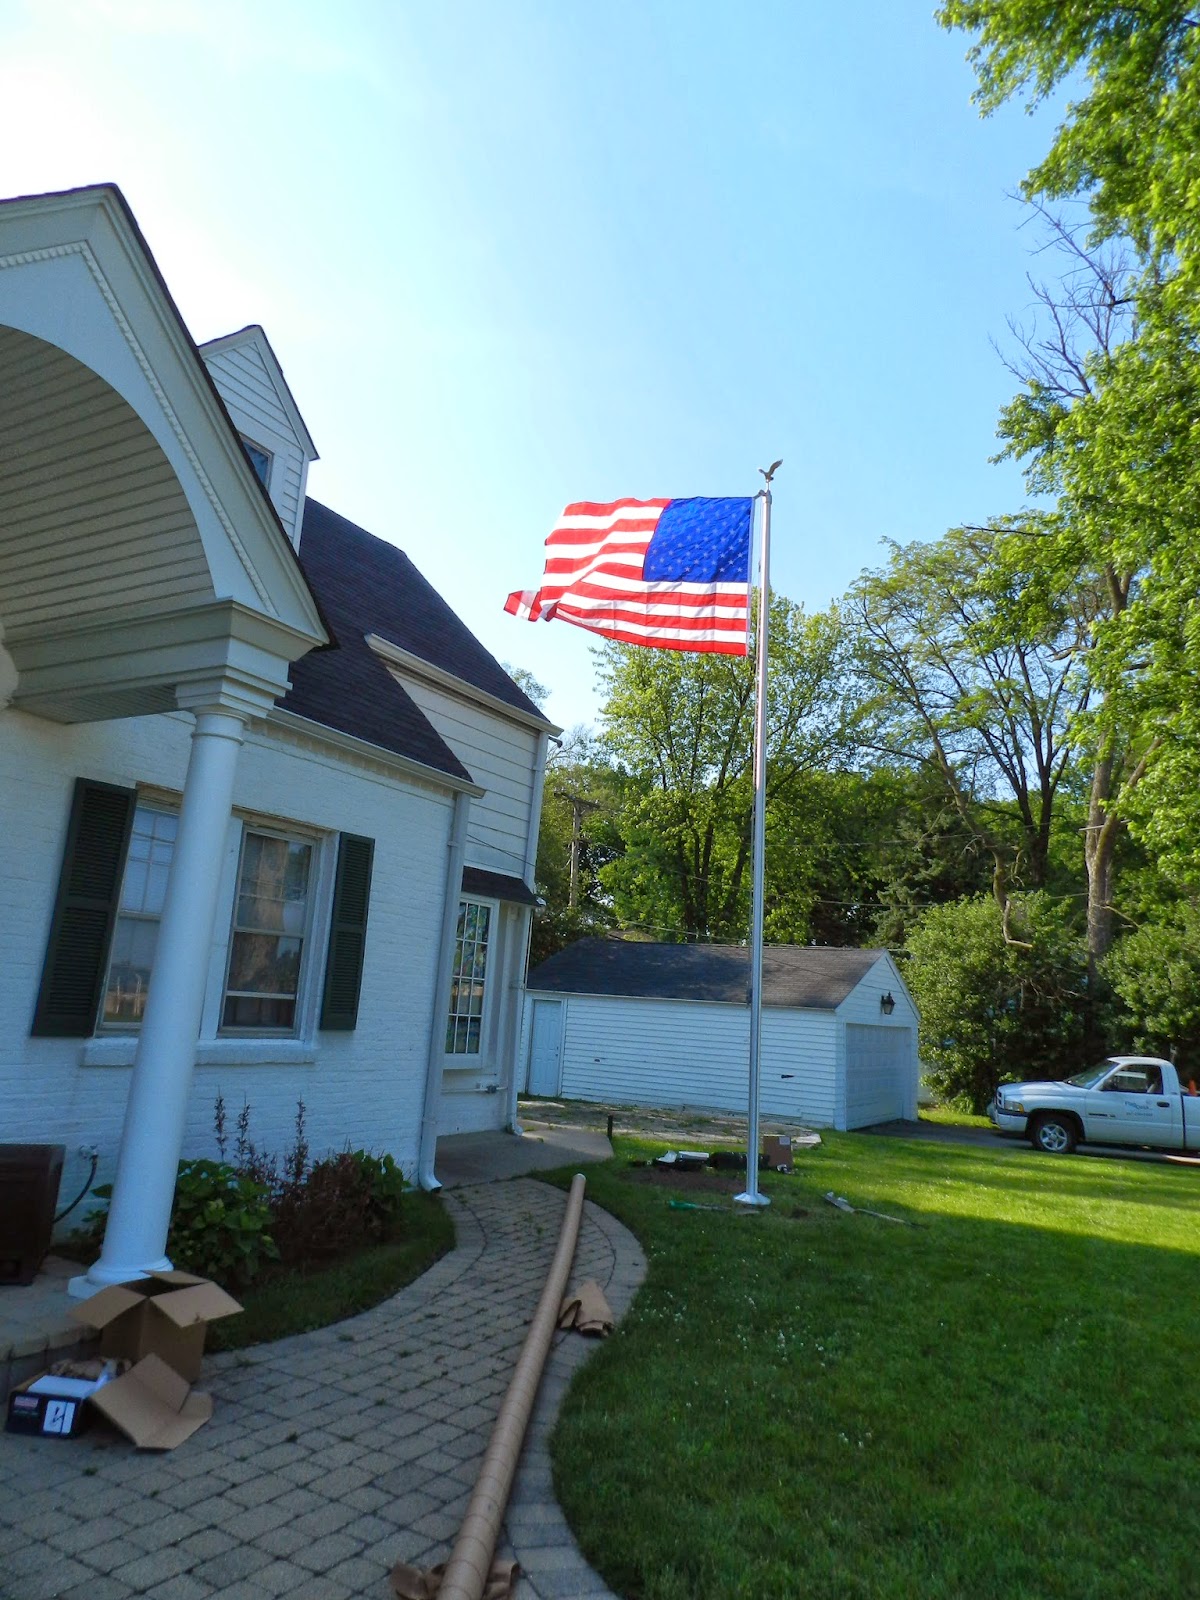
As a flag flyer you are the backbone of your community. At Flag Desk, We just like people who fly flags, because it is an inclusive community service action. We understand, Bravo to you. We know how to help you have the best flag display year round. Your not a holiday flag flyer, your a community standard barer. It is not about holidays and fair weather, bright sunny days, it is also. Flag Flyers don't just fly flags on the holidays, but they fly 24/7/365.
In this tutorial we will not be covering options as much as we'll be making sure halyard (rope) is secure to the flagpole and doesn't snap or break on you. If you are installing a new flagpole or rebuilding a broken down flagpole with new updated parts then this is the series for you. It is worth taking a look at these tutorial videos.
Topics covered in the past tutorials:
How to Install a Flagpole: Proper Way to Assemble Flagpole Pulley and Ornament (Part 4 of 6)
- Various types of flagpole trucks (pulley systems)
- How to find the best truck for you
- How to find the best ornament (ball ornament or eagle ornament)
- Proper way to install the flagpole truck and the ornament
- Nature of shipping flagpoles
- How to receive the flagpole / check for damages / properly sign cargo acceptance
- How to unpack the flagpole safely and without harming the flagpole
- Tips for flagpole storage
- Proper flagpole hole dimensions
- Proper way to mix concrete
- Proper way to set the sleeve
- How to install flagpole with a pedestal base with sonotube
- Picking a flagpole location
- Calling underground for a clearance safety check
- List of helpful flagpole installation tools
- How to pick the right height for your flagpole location
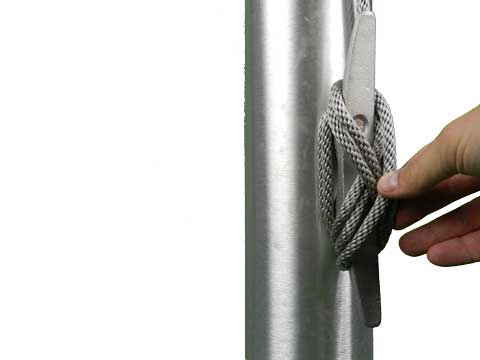
Part 5: Proper way to Tie Halyard (knot) and Attach Cleat
Rope which attaches a flag to a flagpole in called halyard. This is a special type of rope because it is unilaterally woven. On boats, it is called lanyard. When the nylon is wrapped unilaterally, the rope expands and contracts uniformly. This way the rope does not create pockets within the layers which could cause rapid decay and fray within the rope. The last thing you want is for your flagpole halyard to break. This can be a costly mistake.
 | |
| Wire Center Halyard prevents rope breaking (Syracuse, NY) |
AVOIDING FLAGPOLE ROPE FAILURE
Flagpole halyard fails for two reasons: 1)It is regular rope and not halyard. 2) The flagpole or hardware has rough edges which cut into the line over time. Both are very easy to determine. The important thing is to be vigilant. If vigilance is not an option, you can always get upgrade.
The most durable halyard is called wire-center halyard. It has a stainless steel cable core which will prevent breakage. It will take serious neglect over several years before this halyard breaks. You can always request wire-center halyard with your new flagpole as an upgrade.
How to Rig the Halyard to the Flagpole
We find it is best to attach the flagpole truck before you string the flagpole. This way you can have a good handle on the truck while you are securing the flagpole truck. Also it is easier to line up the pulley to the cleat for stationary (fouling) trucks. Once the truck is attached, you can pass the halyard end through the truck pulley(s). Pull the rope through and walk toward the base of the flagpole.
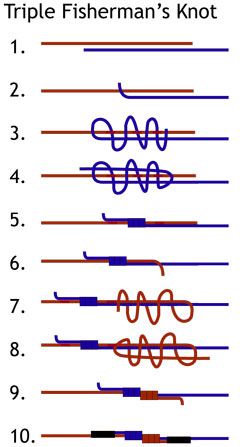
- Take the two ends of the rope and have them oppose each other and overlap by 10 to 12 inches.
- Start with the end facing away from you. Take this end and wrap it over and around both ropes with slack.
- Repeat this so you have two loops with the second loop below the first.
- Pass the rope through the center of the two loops from the bottom loop to the the top.
- Tighten so that the two loops are secure to the adjacent rope.
- Flip the rope so the end which was facing you is now facing away.
- Make two loops as you did before. First loop above the second loop.
- Pass the rope through the two loops and tighten.
- Take the line on both sides (without the tails) and pull apart. The knot should set.
- Duct tape the tails... cut as needed if there is a lot of slack.
How to Attach and Wrap the Flagpole Cleat
How to attach the cleat: We recommend making pilot holes before screwing the cleat. With aluminum, you want to use stainless steel screws. Some flagpoles come with self-tapping screws. These can give you some problems. You do not want to screw them in crooked. Guide holes will ensure the screws go straight in. You can't really redo this step so you have to make it right on the first round. Tap the screw holes so that the threads are taking and the crew can easily turn. In the video, the holes were already made in the shop.
Once the pilot holes are tapped, you can hand tighten the cleat onto the flagpole starting with one screw at a time. Do not fully tighten on or you could strip the threading when tightening the other. Make sure both are relatively screwed in before you tighten.

Now we are ready for the final phase! Next time, we are going to raise the flagpole into the sleeve, level the pole, and attach the flag. Stay tuned!